our household was still blanketed in sickness this weekend, but we didn't let it hinder our fun. saturday Ella woke up with quite a fever, but I decided to set up for a potato stamping and painting session anyway. turned out, it was a great distraction for her. she always has fun when I bring out the paints and stamping was a whole new technique for her to experience. what started out as a fairly neat endeavor quickly turned into an all out finger painting session. but she surprised me and produced this little gem:
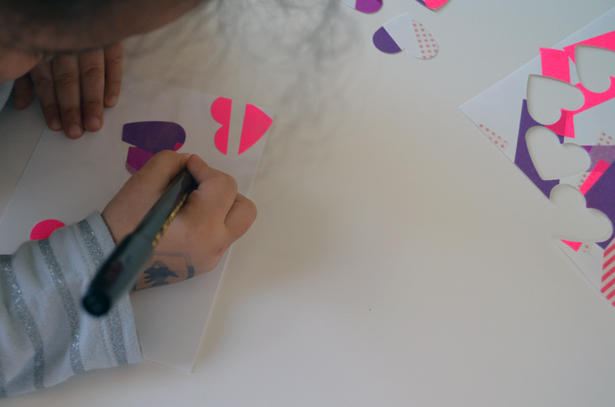
I turned this and the rest of her paintings into valentine's for family with some inkjet print-outs and a prismacolor clear blender marker. here's how we did it!
supply list:
potatoes ( large idaho potatoes are often recommended but I chose smaller yukon golds so that Ella's hands could easily grip each stamp)
small cookie cutters
sharp knife
acrylic paints
large sheets of white paper (we used a thick white 11x17 construction paper)
sponge brushes
paper plates
splat mat and vinyl tablecloth
to make:
1_place a vinyl tablecloth over your table and a splat mat on the floor beneath where your little one will be working. this made clean up a cinch.
2_cut potatoes at largest circumference, trying to leave about 3/4 of the potato to hold on to. now there are several methods for creating the stamps. for some of the stamps, I pressed small cookie cutters into the potatoes flesh about 1/4". I then took a sharp knife and cut around the cookie cutter and then peeled away the removed flesh. these were very easy and simple to do. I also cut a few other unique shapes using a similar method. there are numerous tutorials on the web with videos. check out
this one from martha stewart! place stamps flesh side down on a paper towel to help dry the flesh before stamping.
3_i then mixed up several shades off pinks and reds with my acrylic paints. I used artist acrylic paints, but buying pre-mixed craft acrylic paint bottles in the colors you wish to use would be much faster. I happen to enjoy color mixing. I mixed up each color on a separate paper plate.
4_then dip the stamps in the paint, brushing off any excess with the sponge brushes, and stamp away!
5_after the paint had dried, i cropped the paintings into 5x7 folded cards. in photoshop, i typed up several appropriate phrases in a font size and layout that would fit on each card, reversed the type, and then printed them out on my inkjet printer. to transfer the type, place the print ink side down and then color over the lettering with a blender marker. there are many brands that make such a marker. mine is a prismacolor clear blender. after saturating the paper over the location of the lettering, use a burnishing stick to help as much ink transfer to the card as possible. and viola, you're ready to send to your favorite loved ones!
happy making!